This page describes the procedure to use the 1000N Custom Test Machine.
1.Connection
To perform test, you need to connect to the machine. First, you have to press the red switch to turn on the machine.
1.1 Wi-fi
Once the machine has been turned on, a new wi-fi network should appear in the networks section of your computer: Phidgets_Hub5000_XXXXXX. To connect by wi-fi to the machine, click on this wi-fi network and enter the password: XXXXXXXX.
To check if you are connected and to check the configuration of the machine, you can go to your internet browser and type 192.168.100.1 in the address bar. This page should appear.
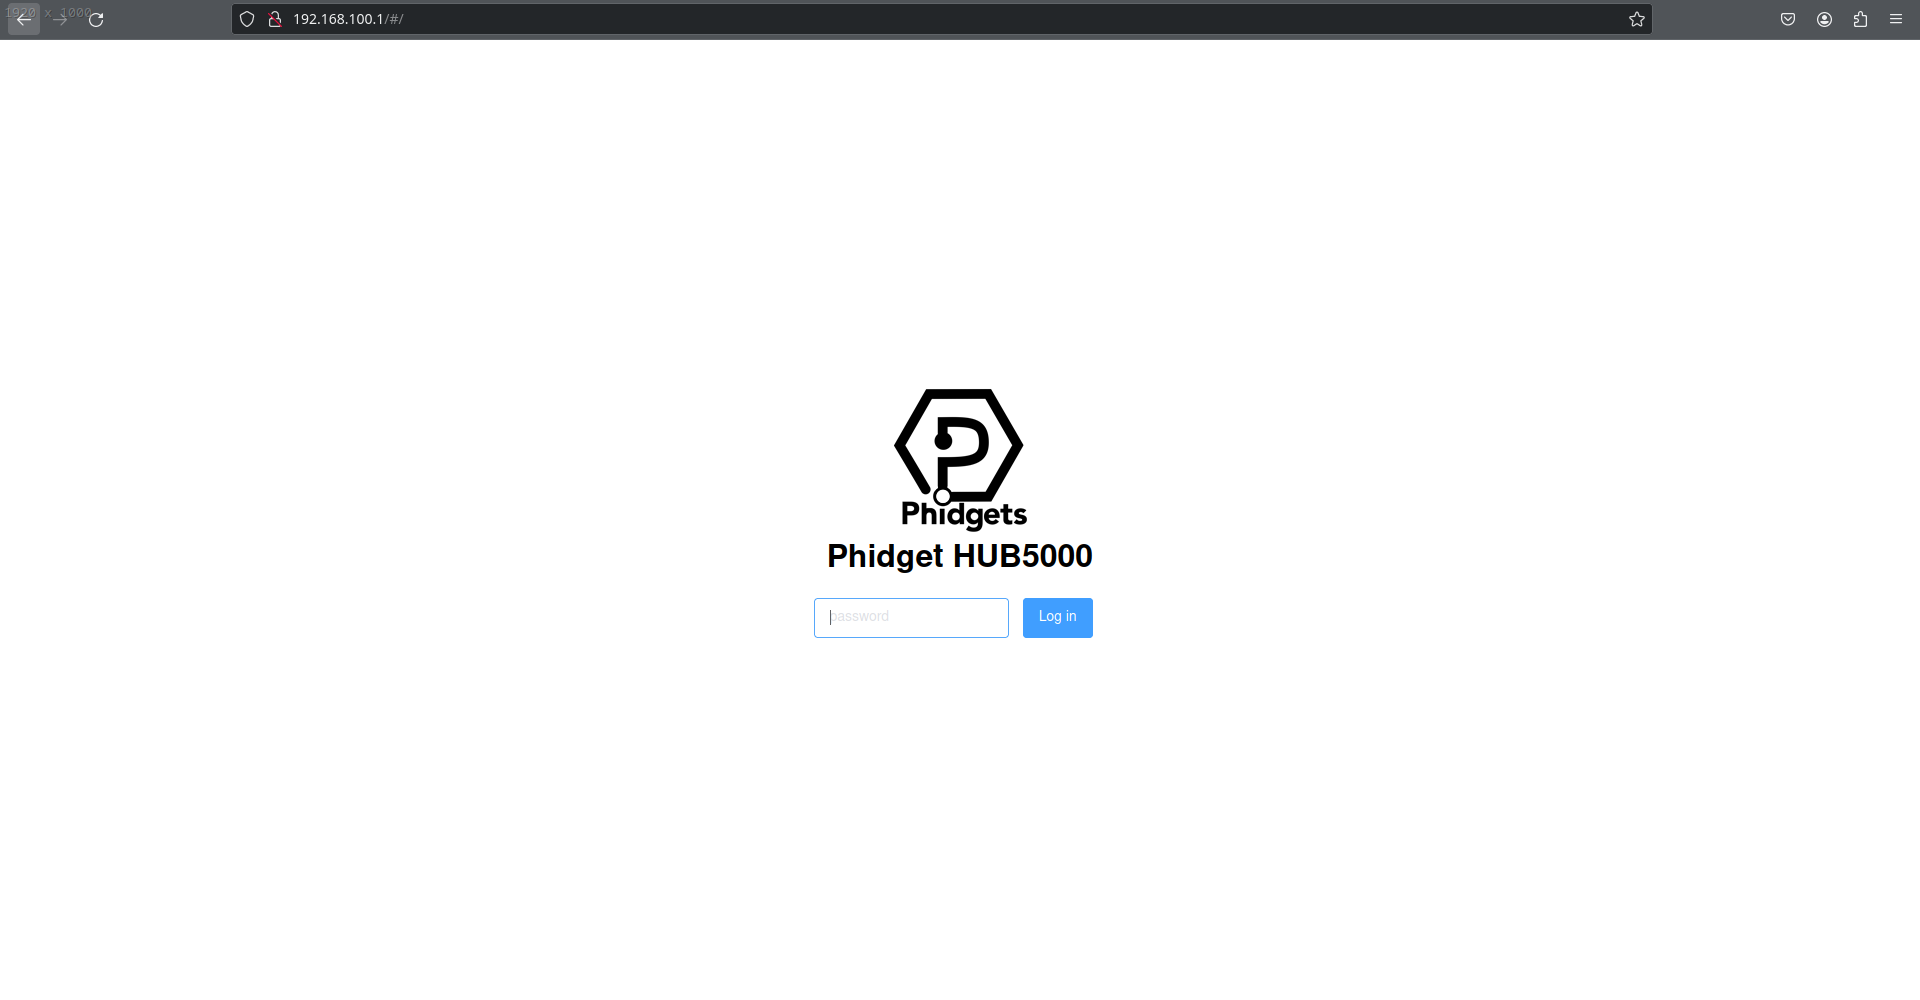
You can now enter the password of the Hub and open the Phidgets interface.
1.2 Ethernet
Once the machine has been turned on, connect your computer with the machine with an ethernet cable. Check the IPv4 settings of your wired connection. The Method should be set to Shared to other computers. If it is not, set it.
To check if you are connected and to check the configuration of the machine, you can go to your internet browser and type hub5000.local in the address bar. This page should appear.
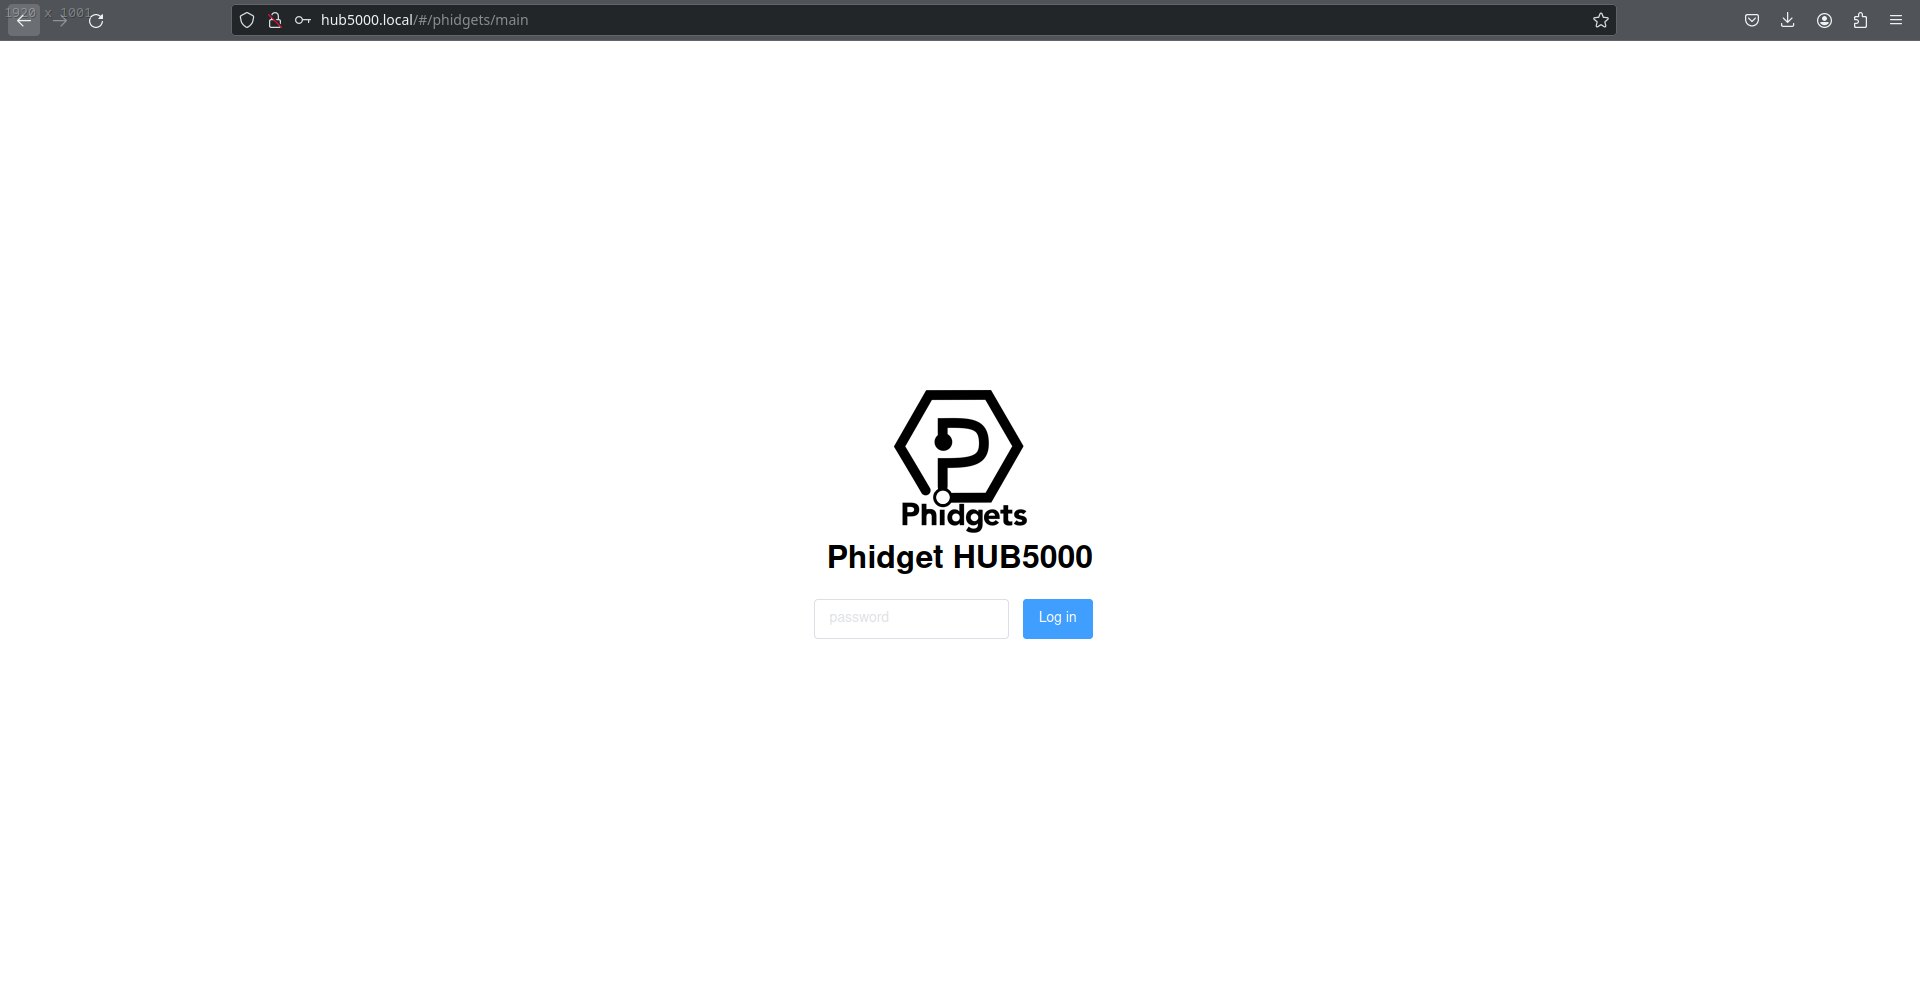
You can now enter the password of the Hub and open the Phidgets interface.
From now, there is no more differences between the connection by ethernet and by wi-fi.
2. Phidgets VINT Hub interface
After entering the password, you will open this page.
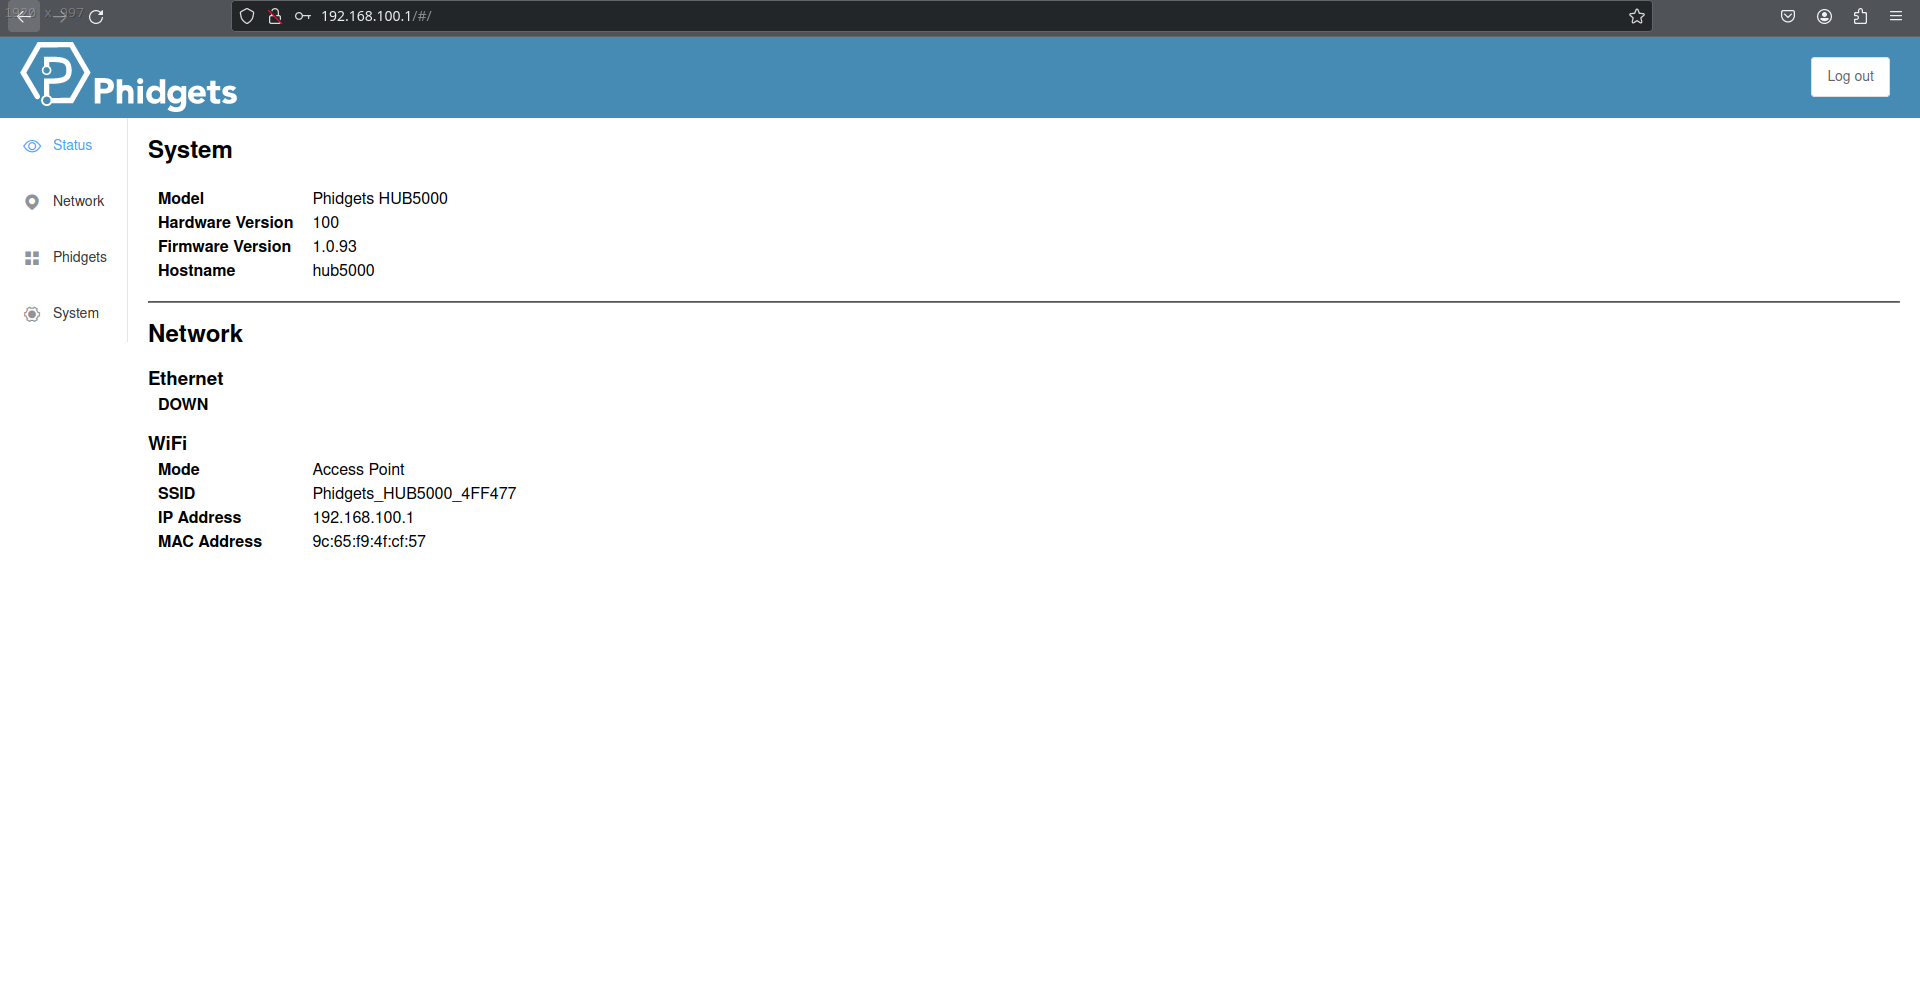
It contains information about the Hub.
2.1 Network configuration
You can verify if the wireless settings of the Hub are good. For that, click on the Network button.
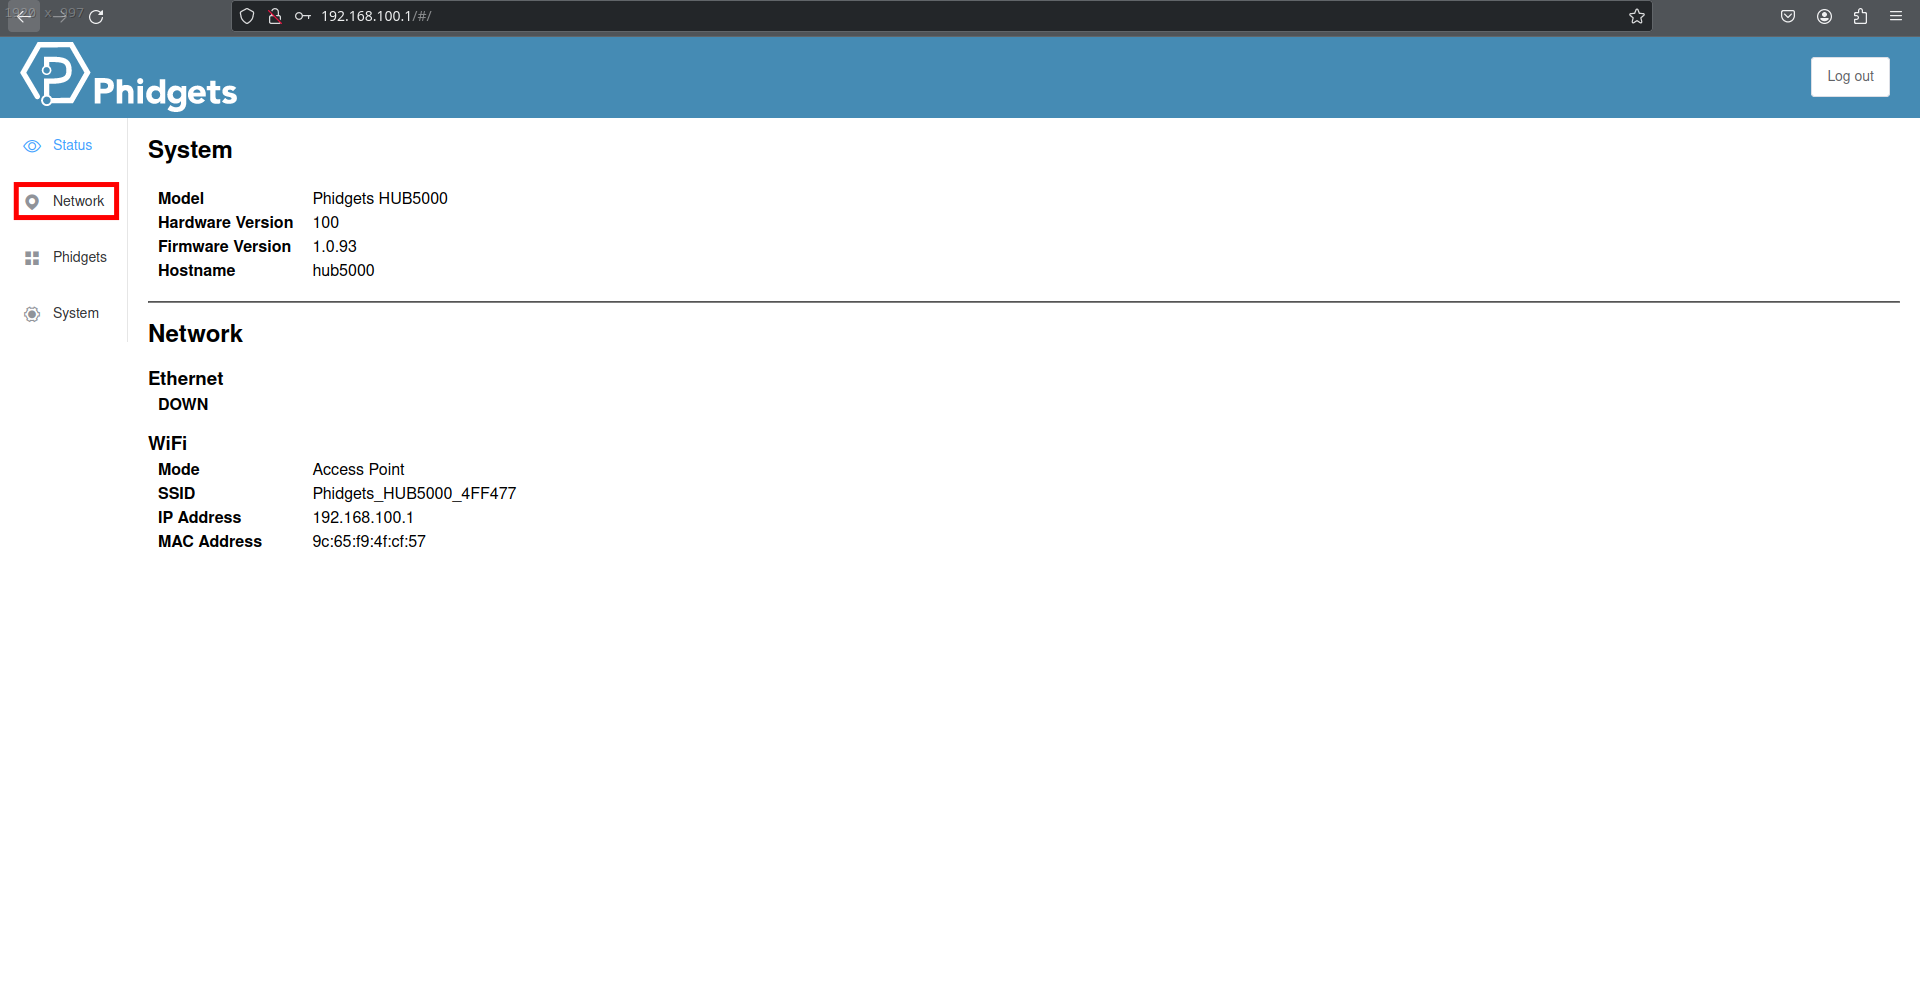
The Phidgets Network page should open.
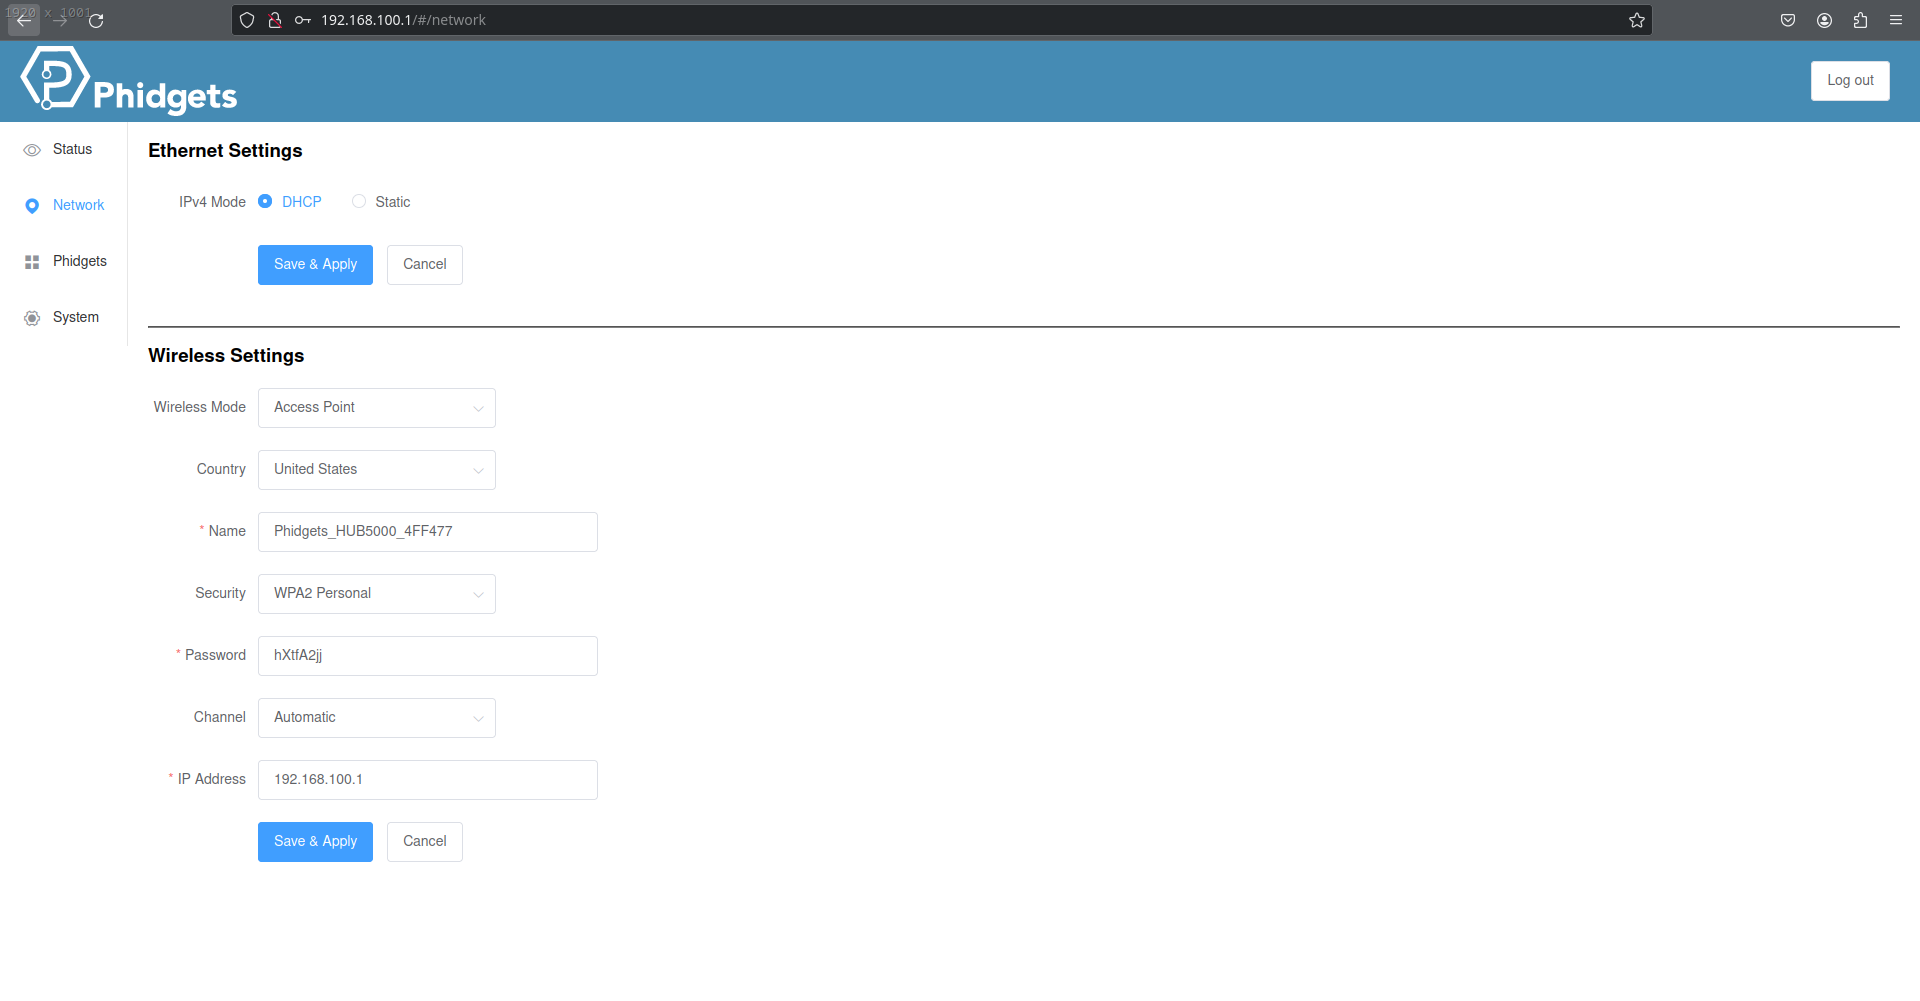
Now you can check that the Wireless Mode is set to Access Point. Otherwise, set it to.
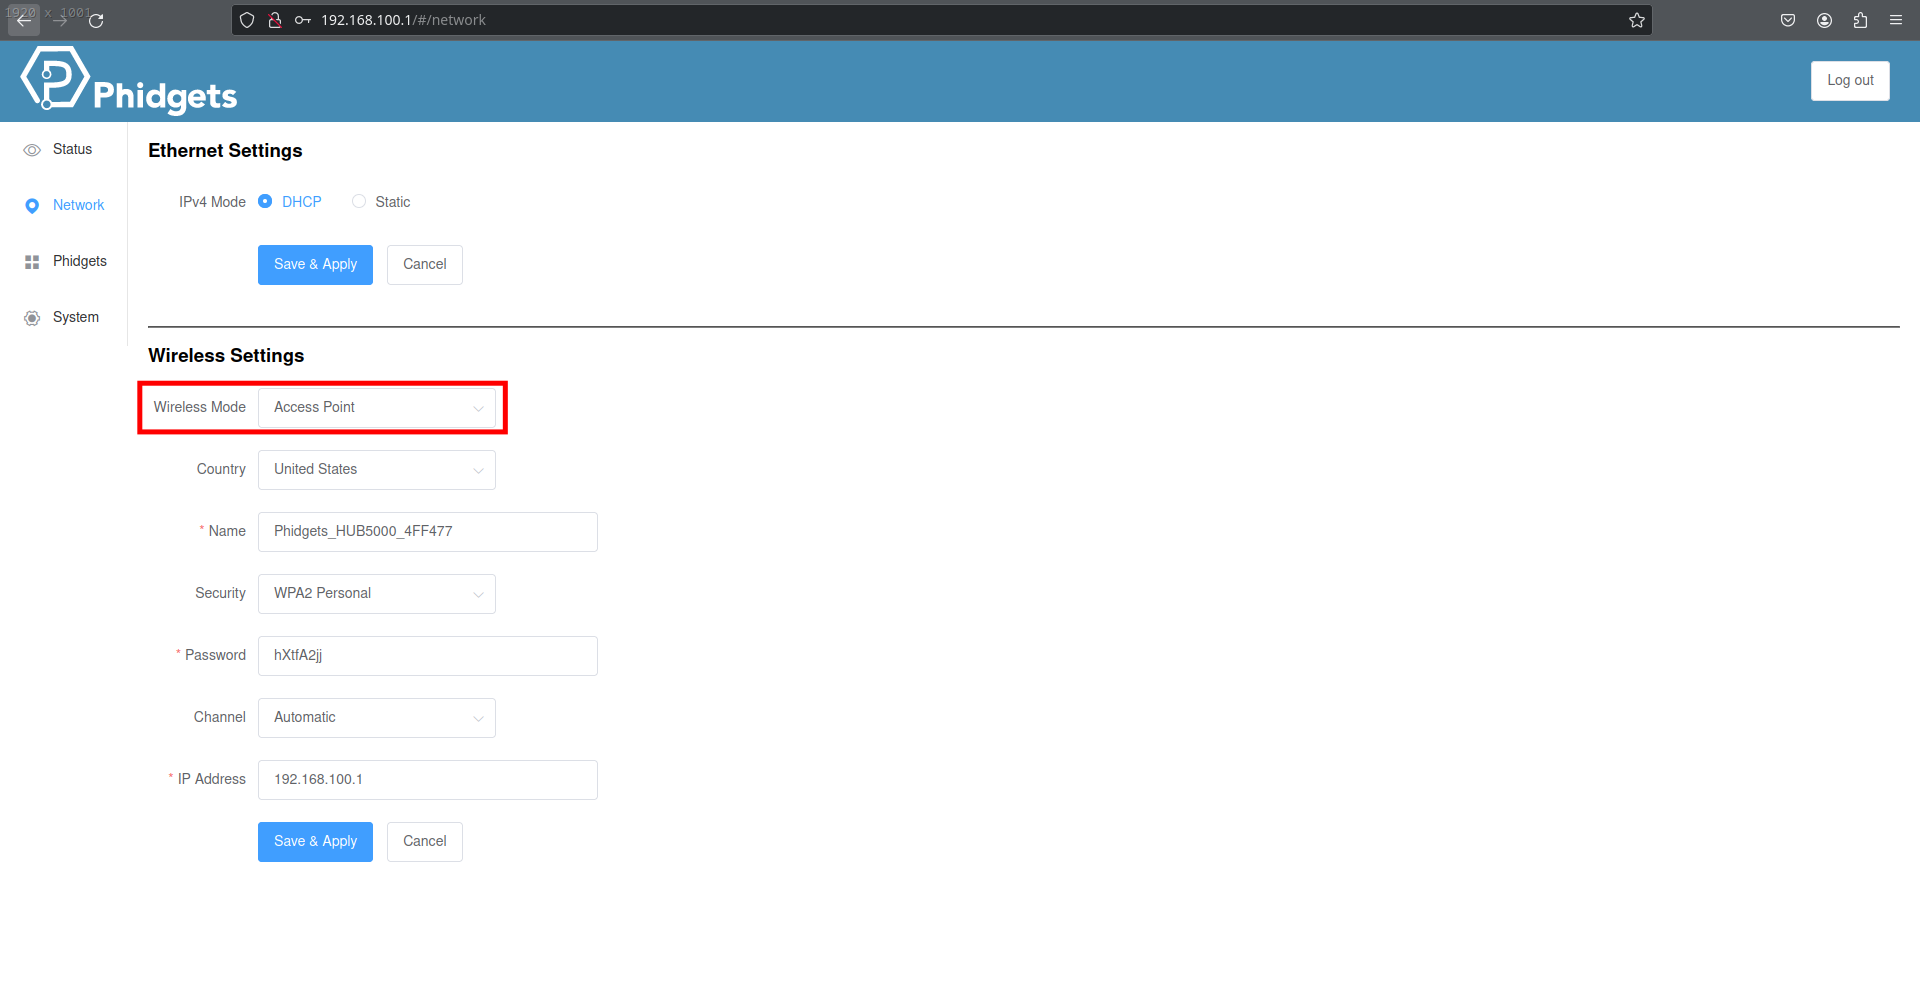
The Phidgets Network configuration is now set to use the machine.
2.2 Phidgets Control Panel
You can also verify that all the Phidgets components are well-connected to the Hub. For that, click on the Phidgets button.
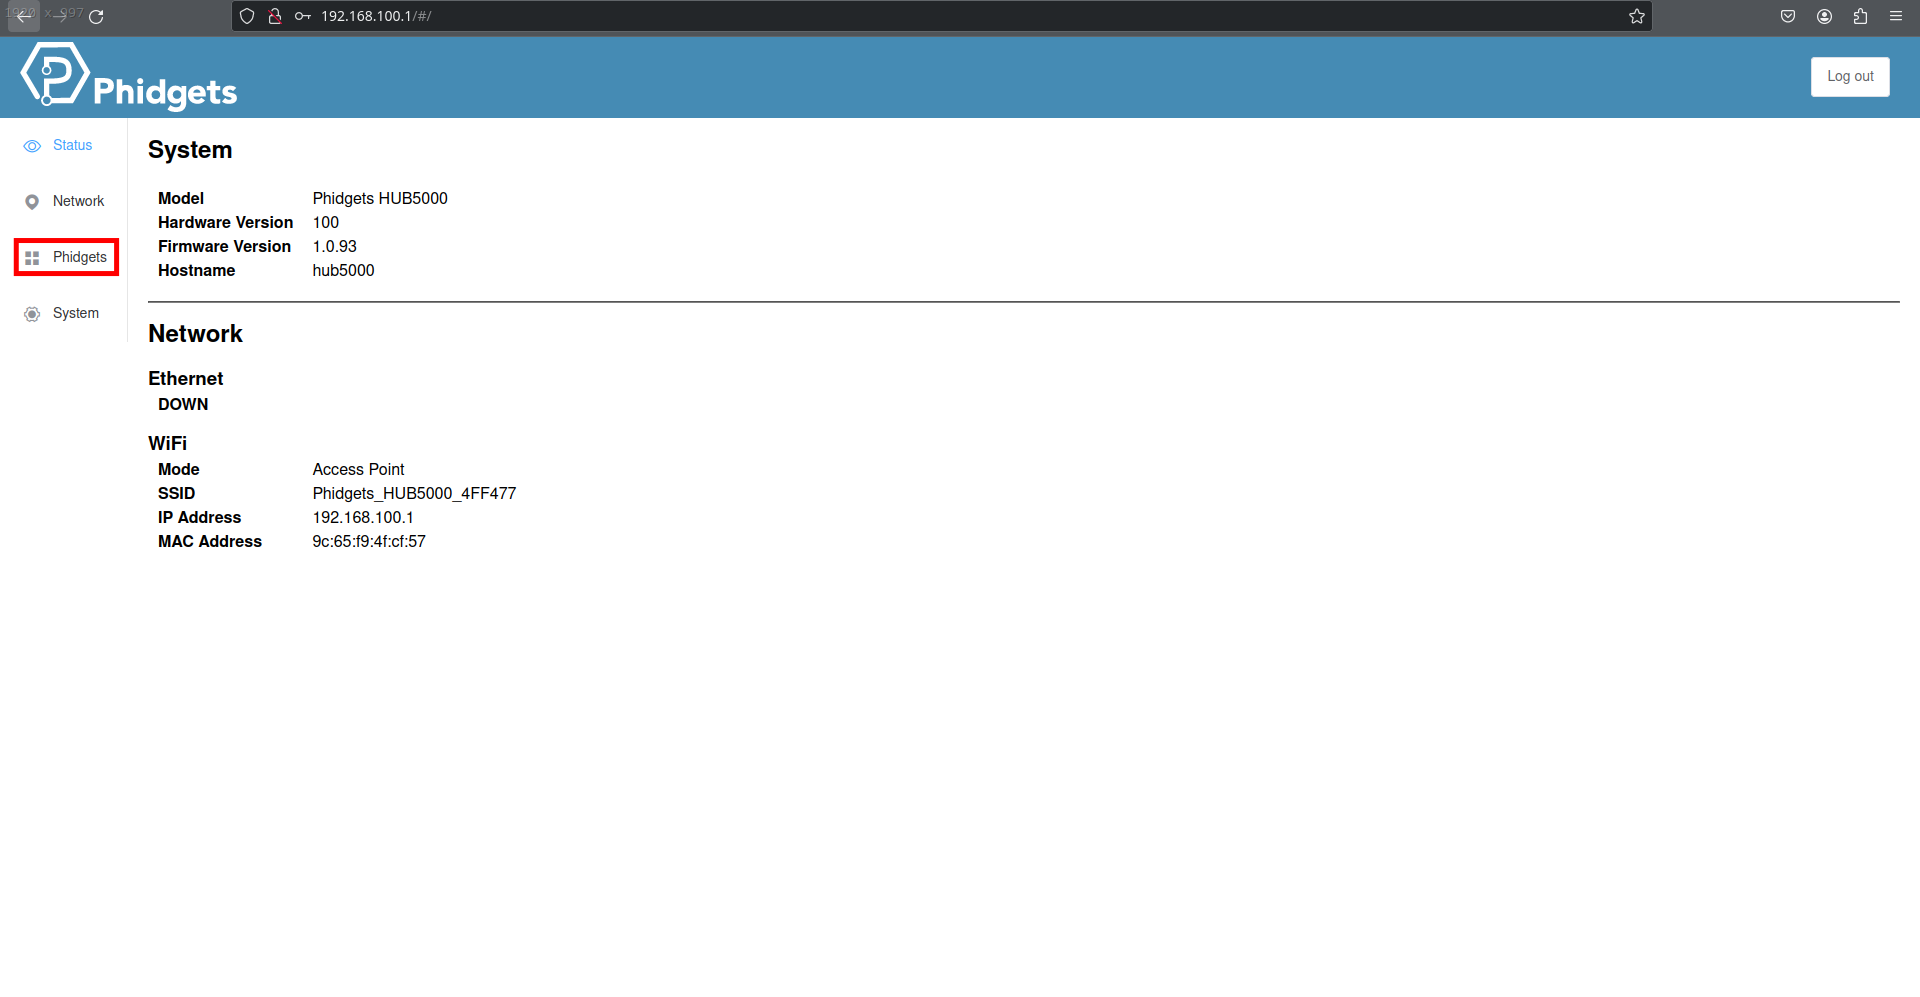
The Phidgets Phidgets page should open.
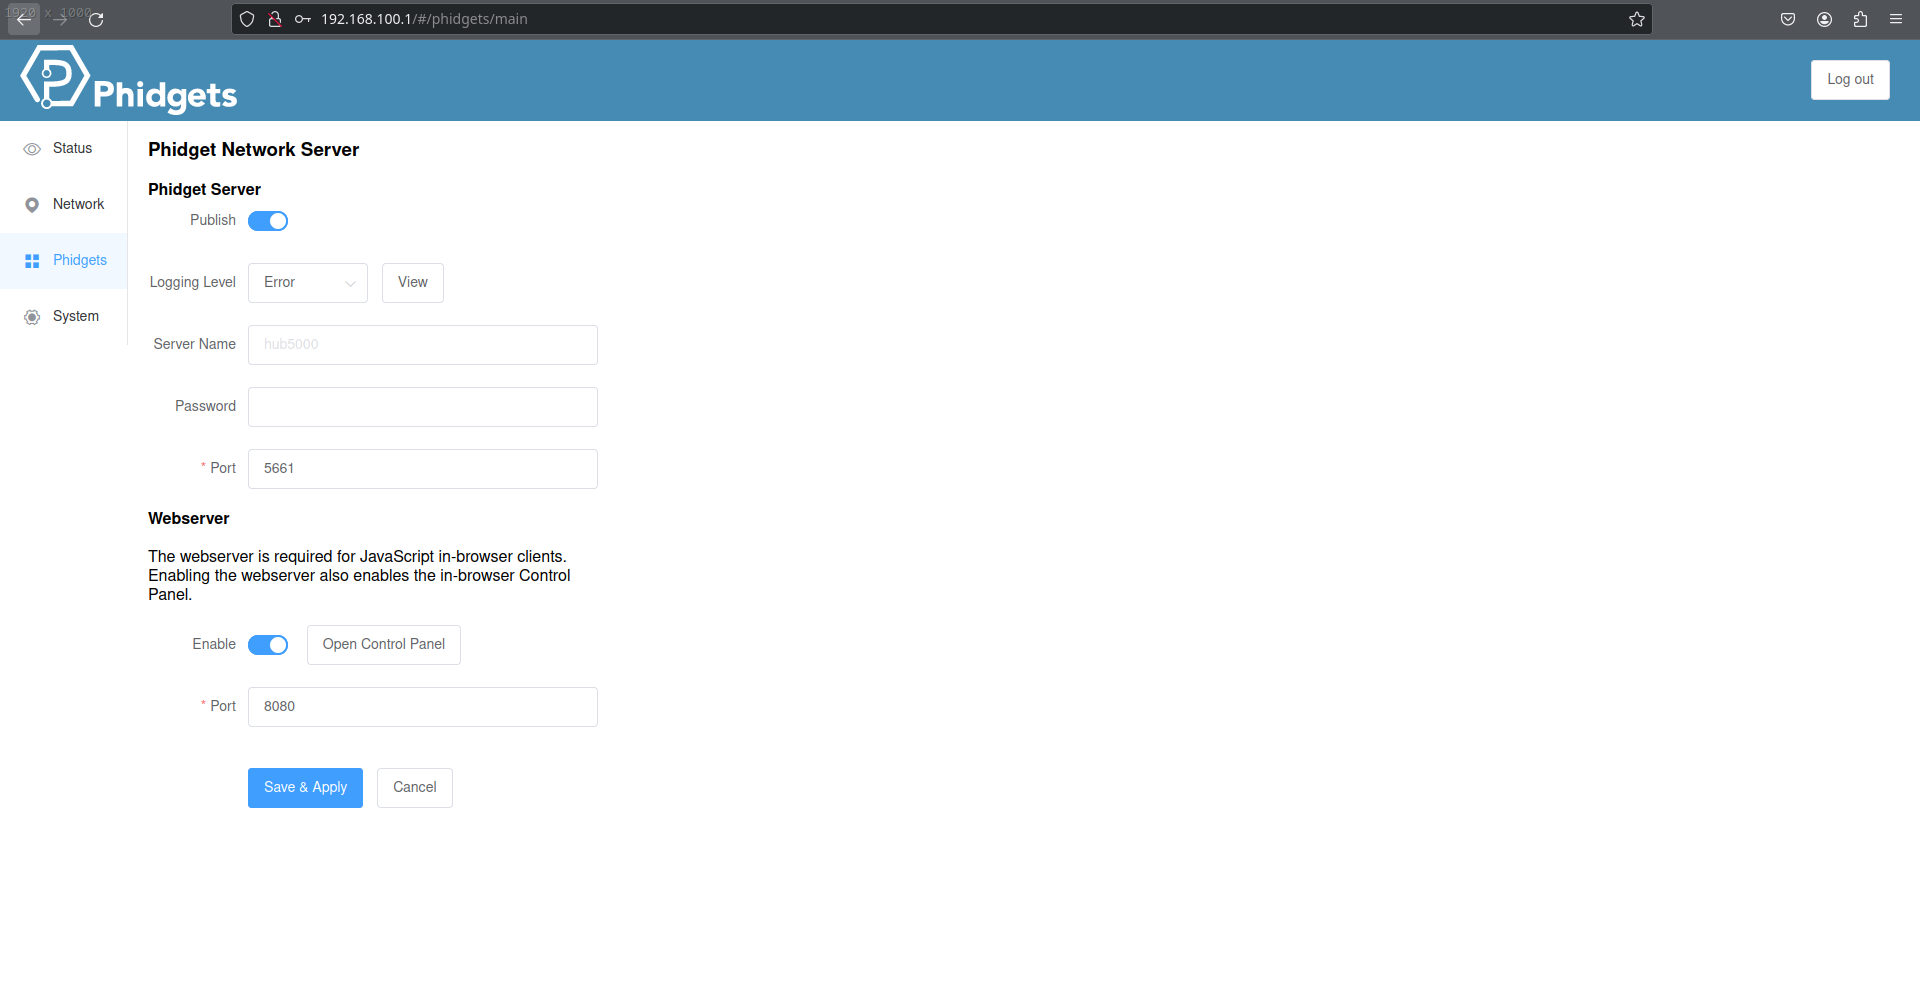
To access the Phidgets Control Panel, the optional Phidgets packages has to be installed. Their installations are described on the Installation page.
If it is the case, you can now open the Phidgets Control Panel.
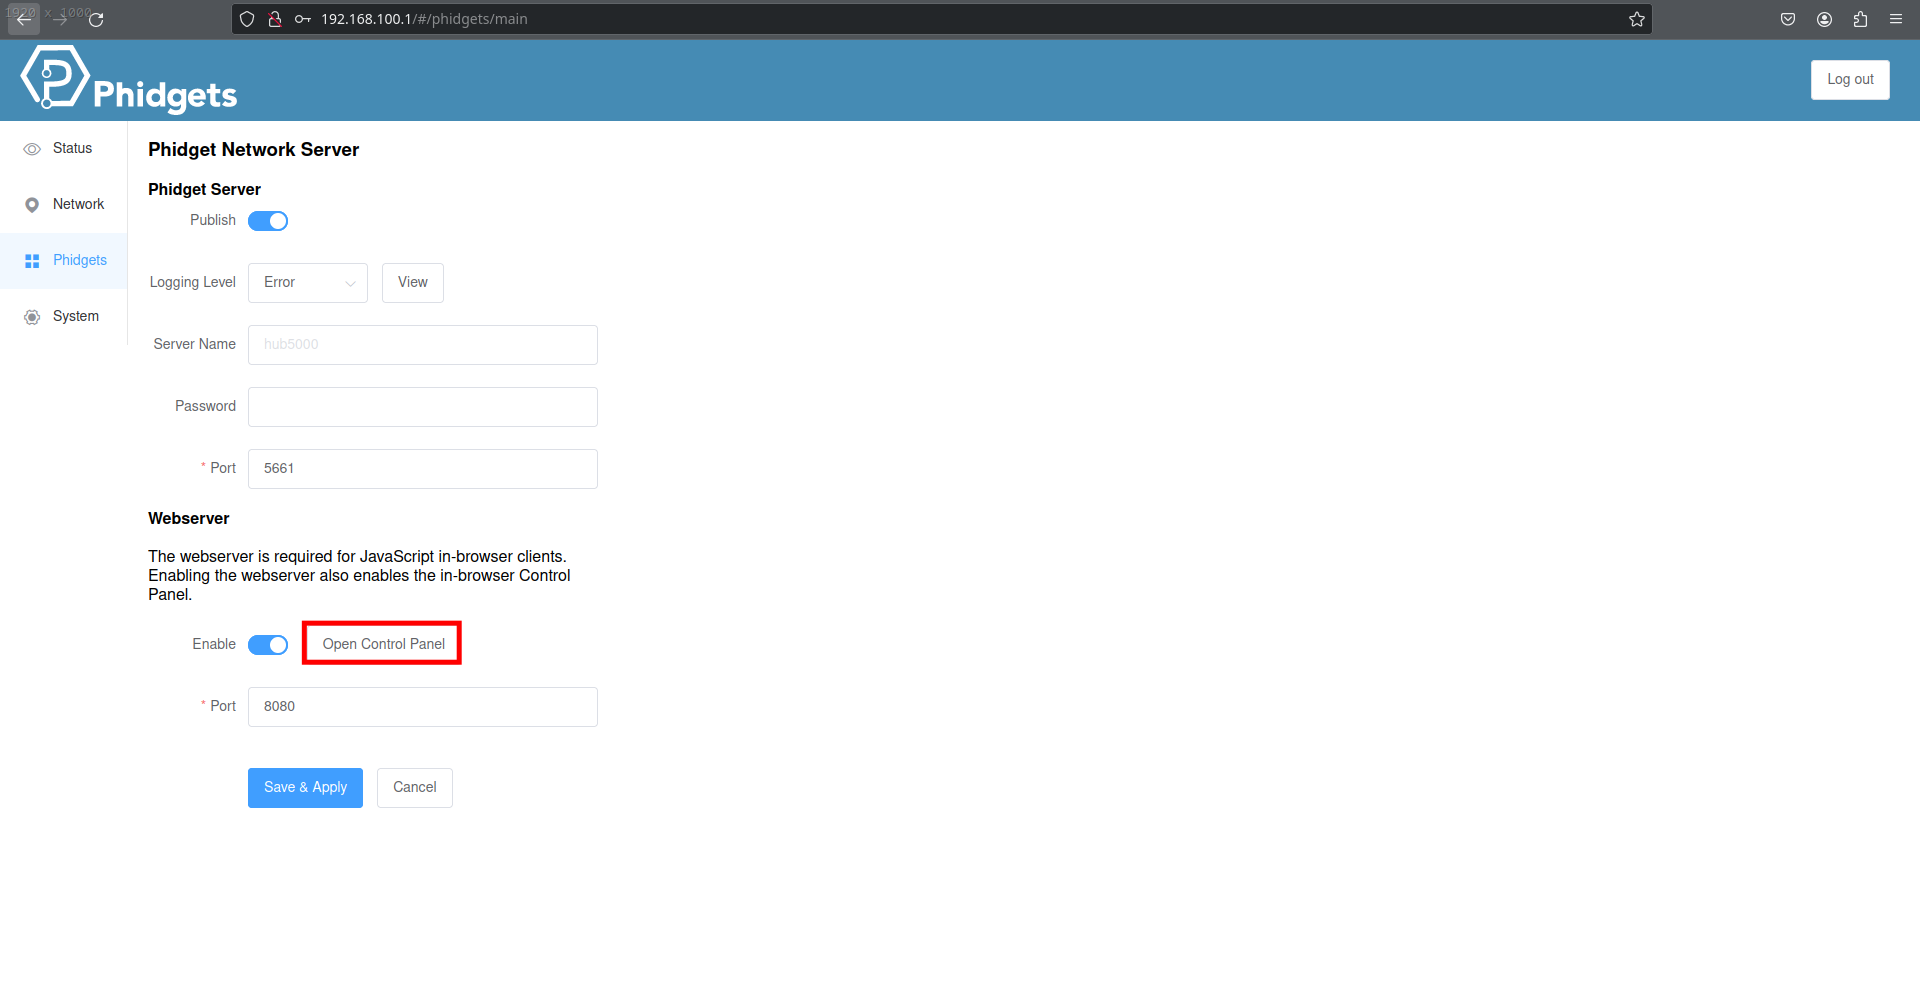
The Phidgets Control Panel should appear.
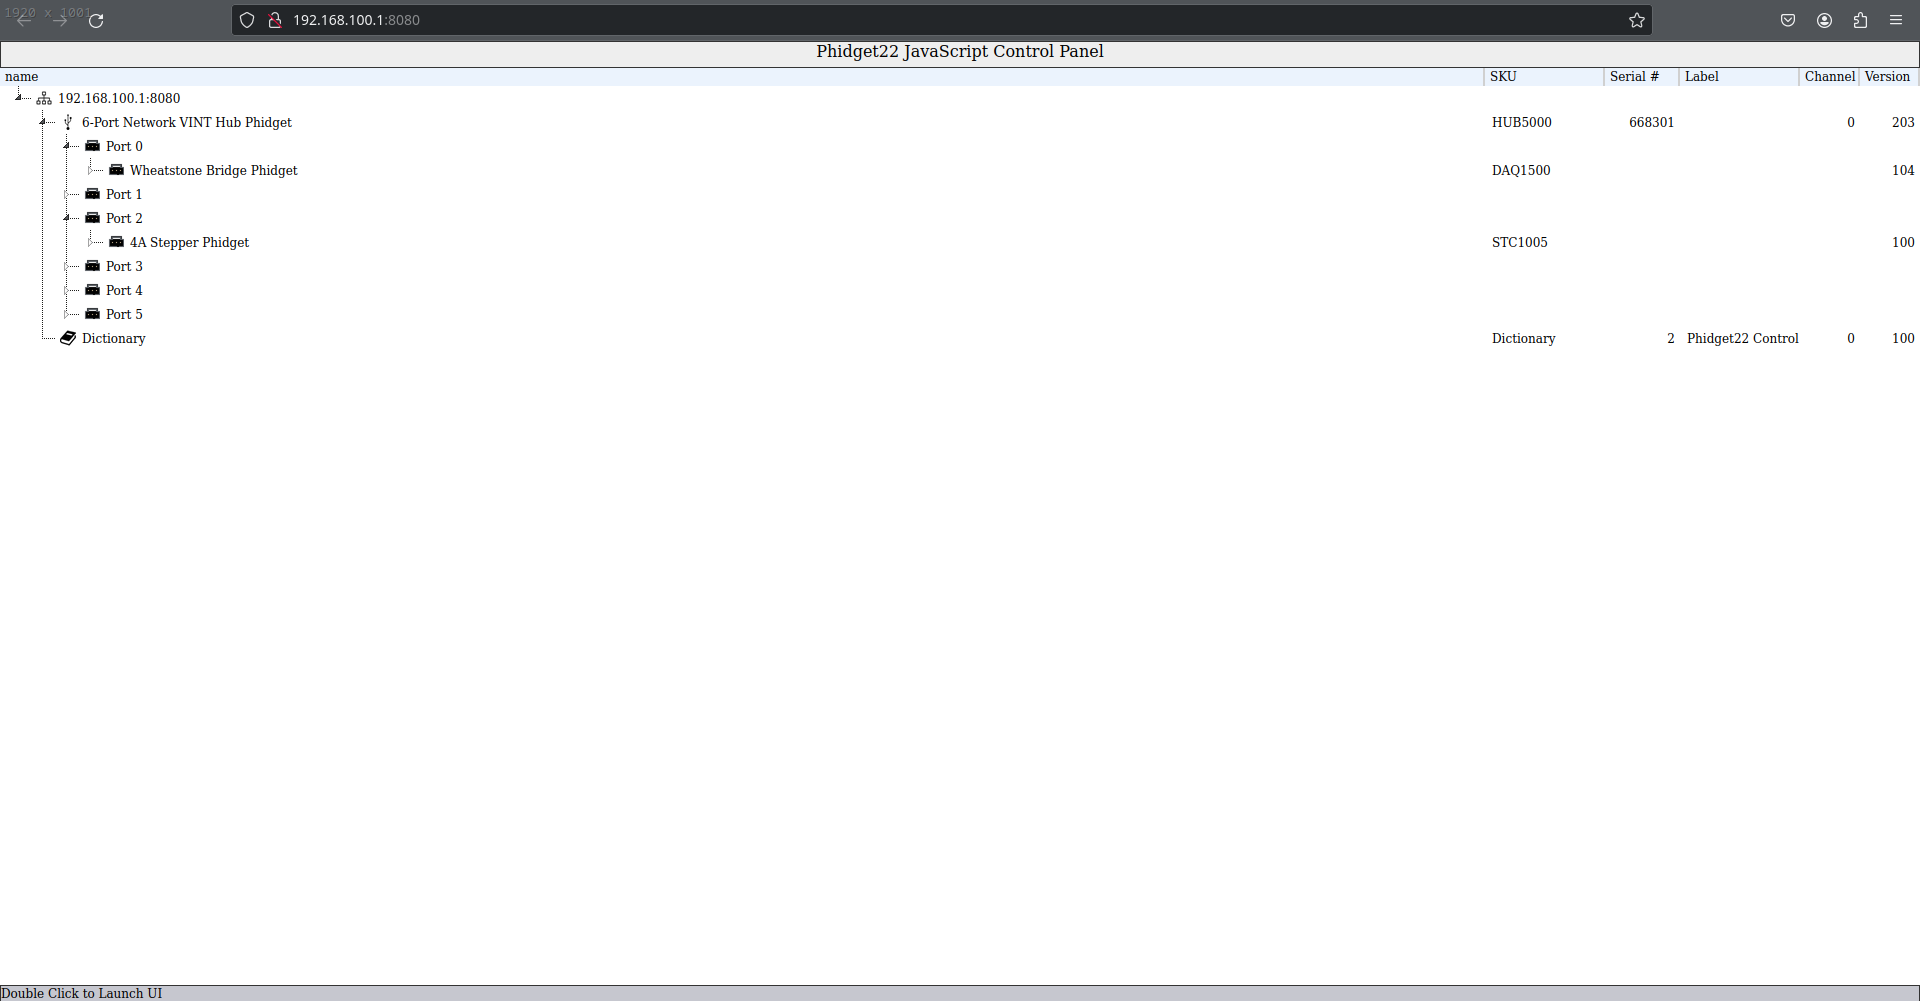
Here you can find all the Phidgets connected to the Wireless VINT Hub. You should see the Phidgets of the Hardware description page: the Wheatstone Bridge Phidget and the 4A Stepper Phidget.
You can notice that the limit switches, which are connected to the Hub, do not appear in the Phidgets Control Panel.
WARNING !!!
If the 4A Stepper Phidget appears in the Phidgets Control Panel as “Unsupported VINT Phidget”, it means that the firmware version of the Wireless VINT Hub is not up-to-date.
To update the firmware, you can download its latest version here.
Then, in the Phidgets interface, click on the System button.
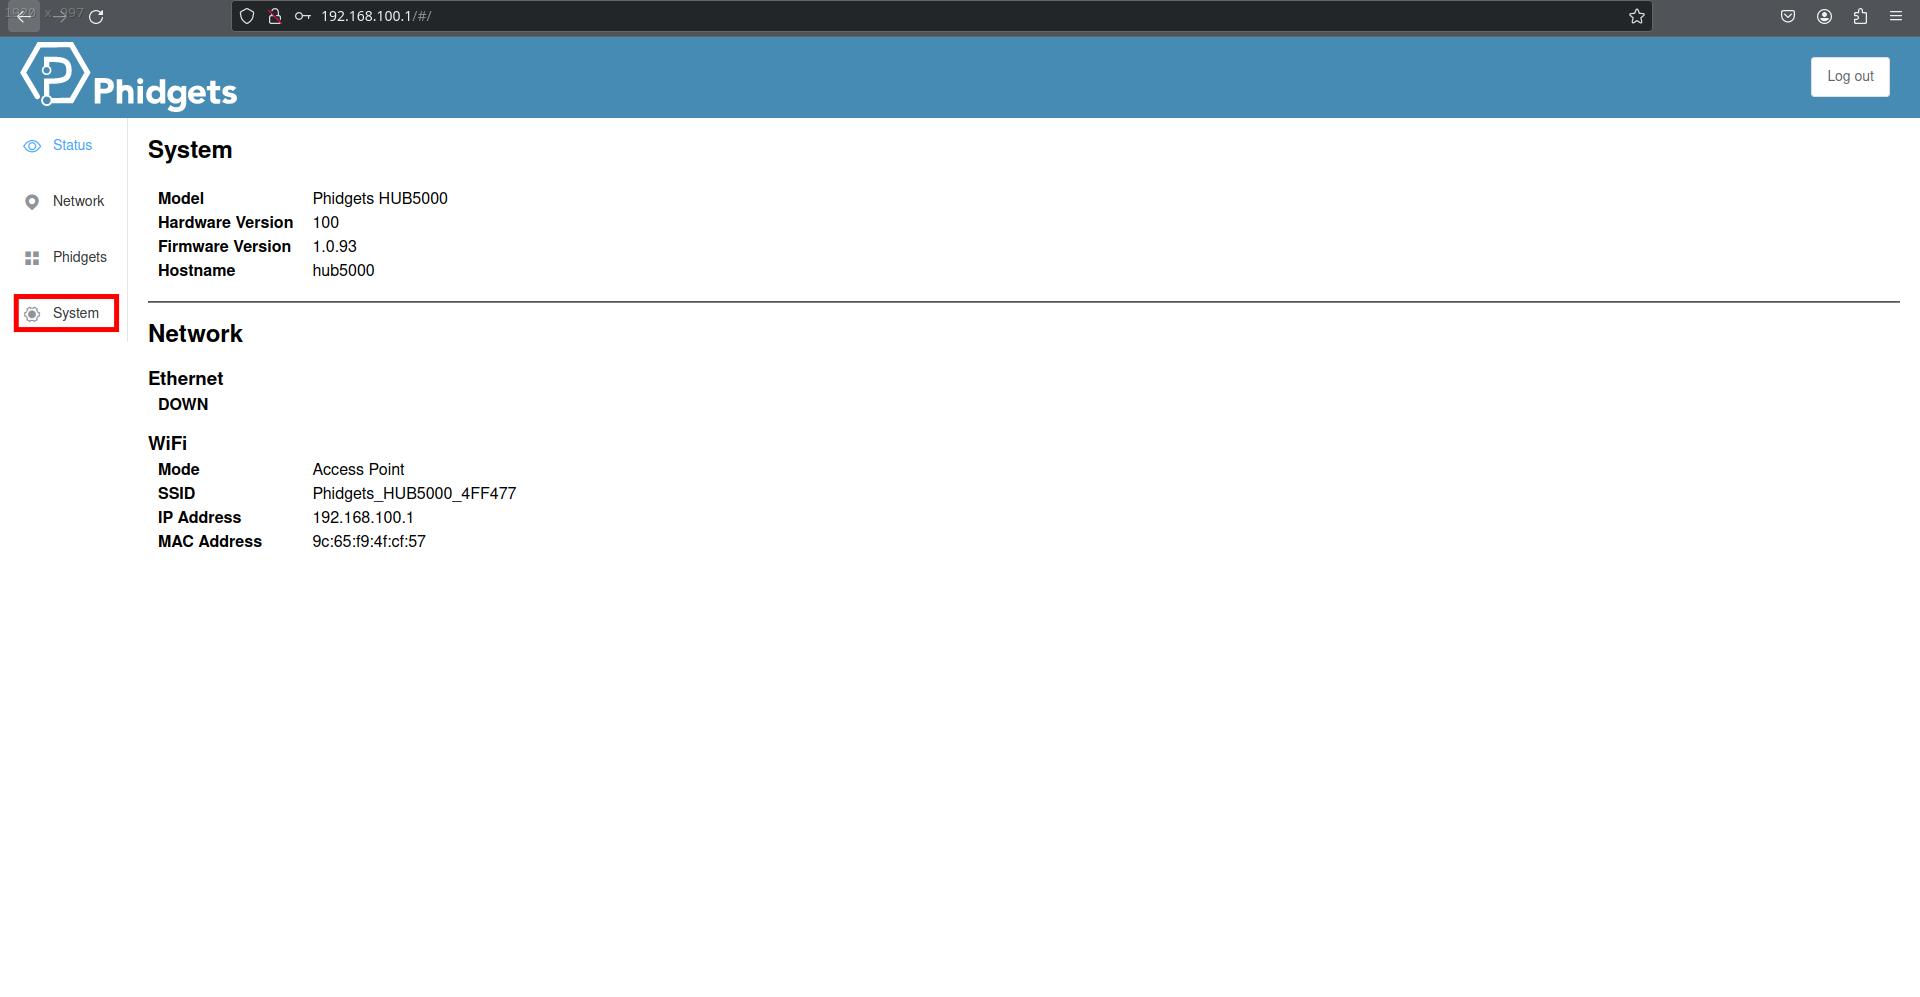
The Phidgets System should appear.
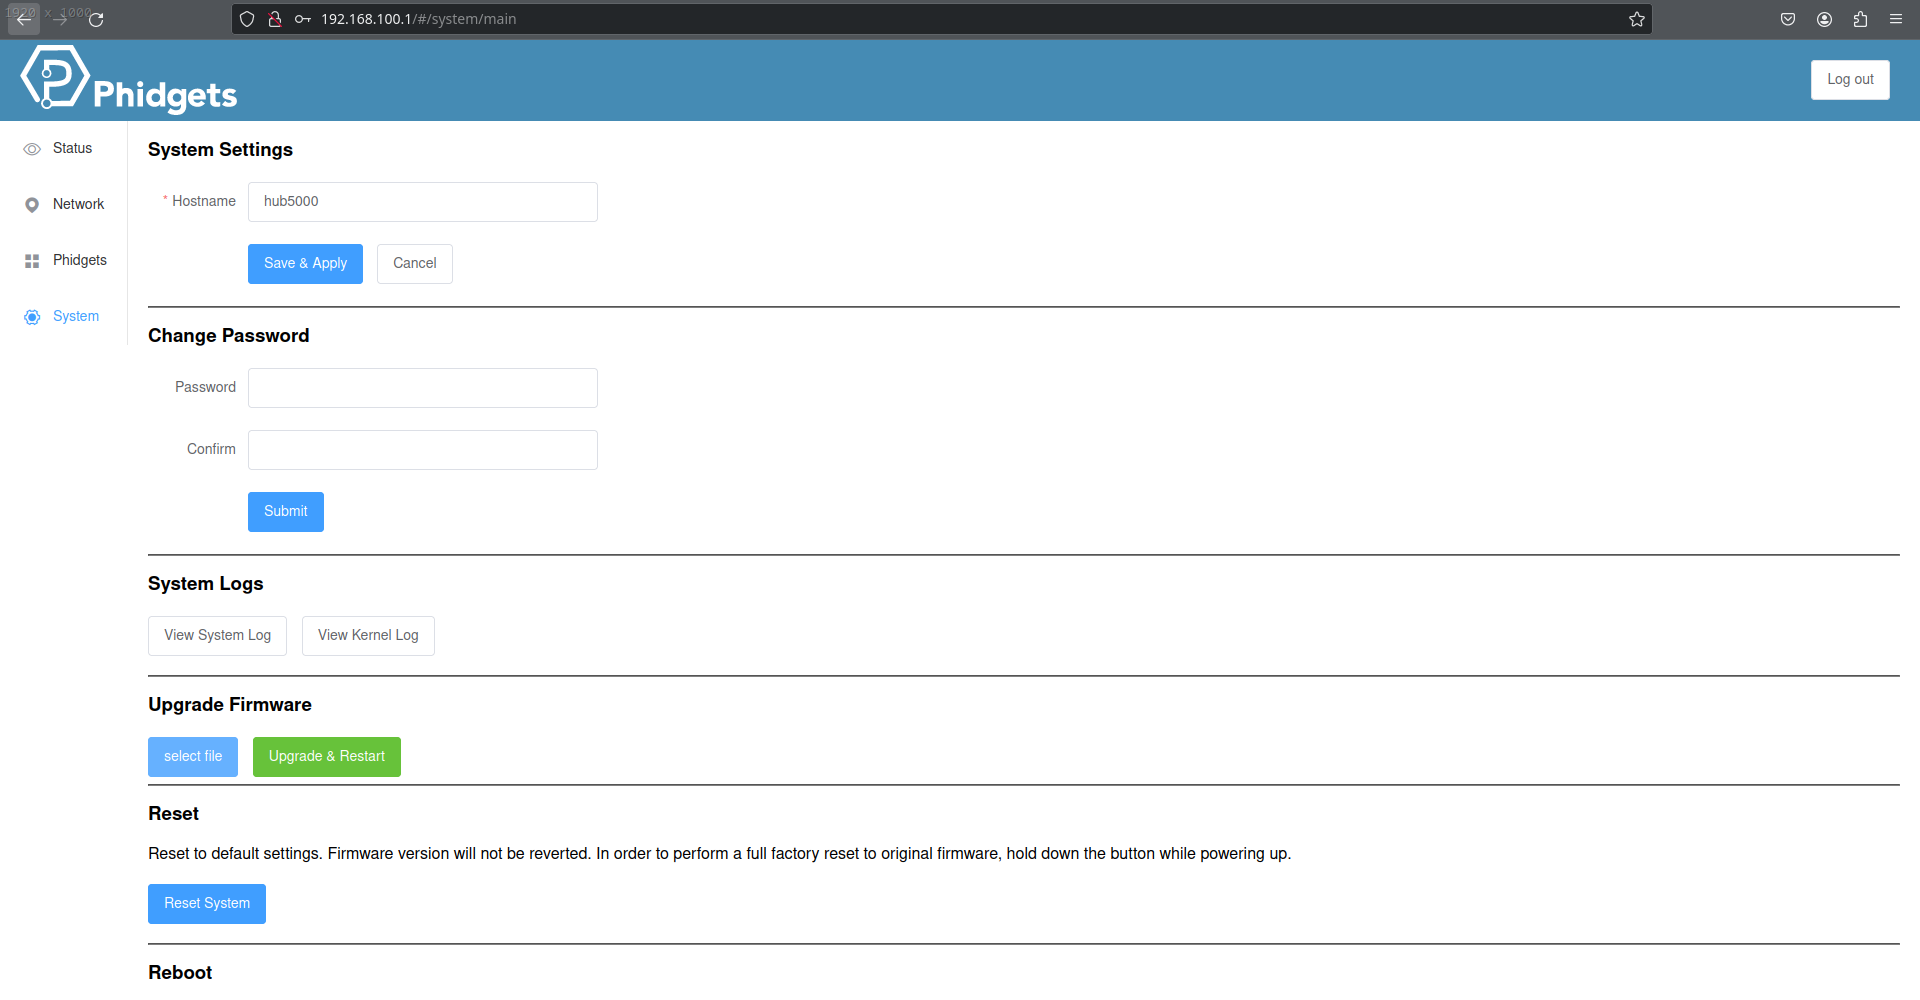
You can see there the Upgrade Firmware section. You can now click on select file to get the new firmware file you just download and click on Upgrade & Restart to upgrade the firmware.
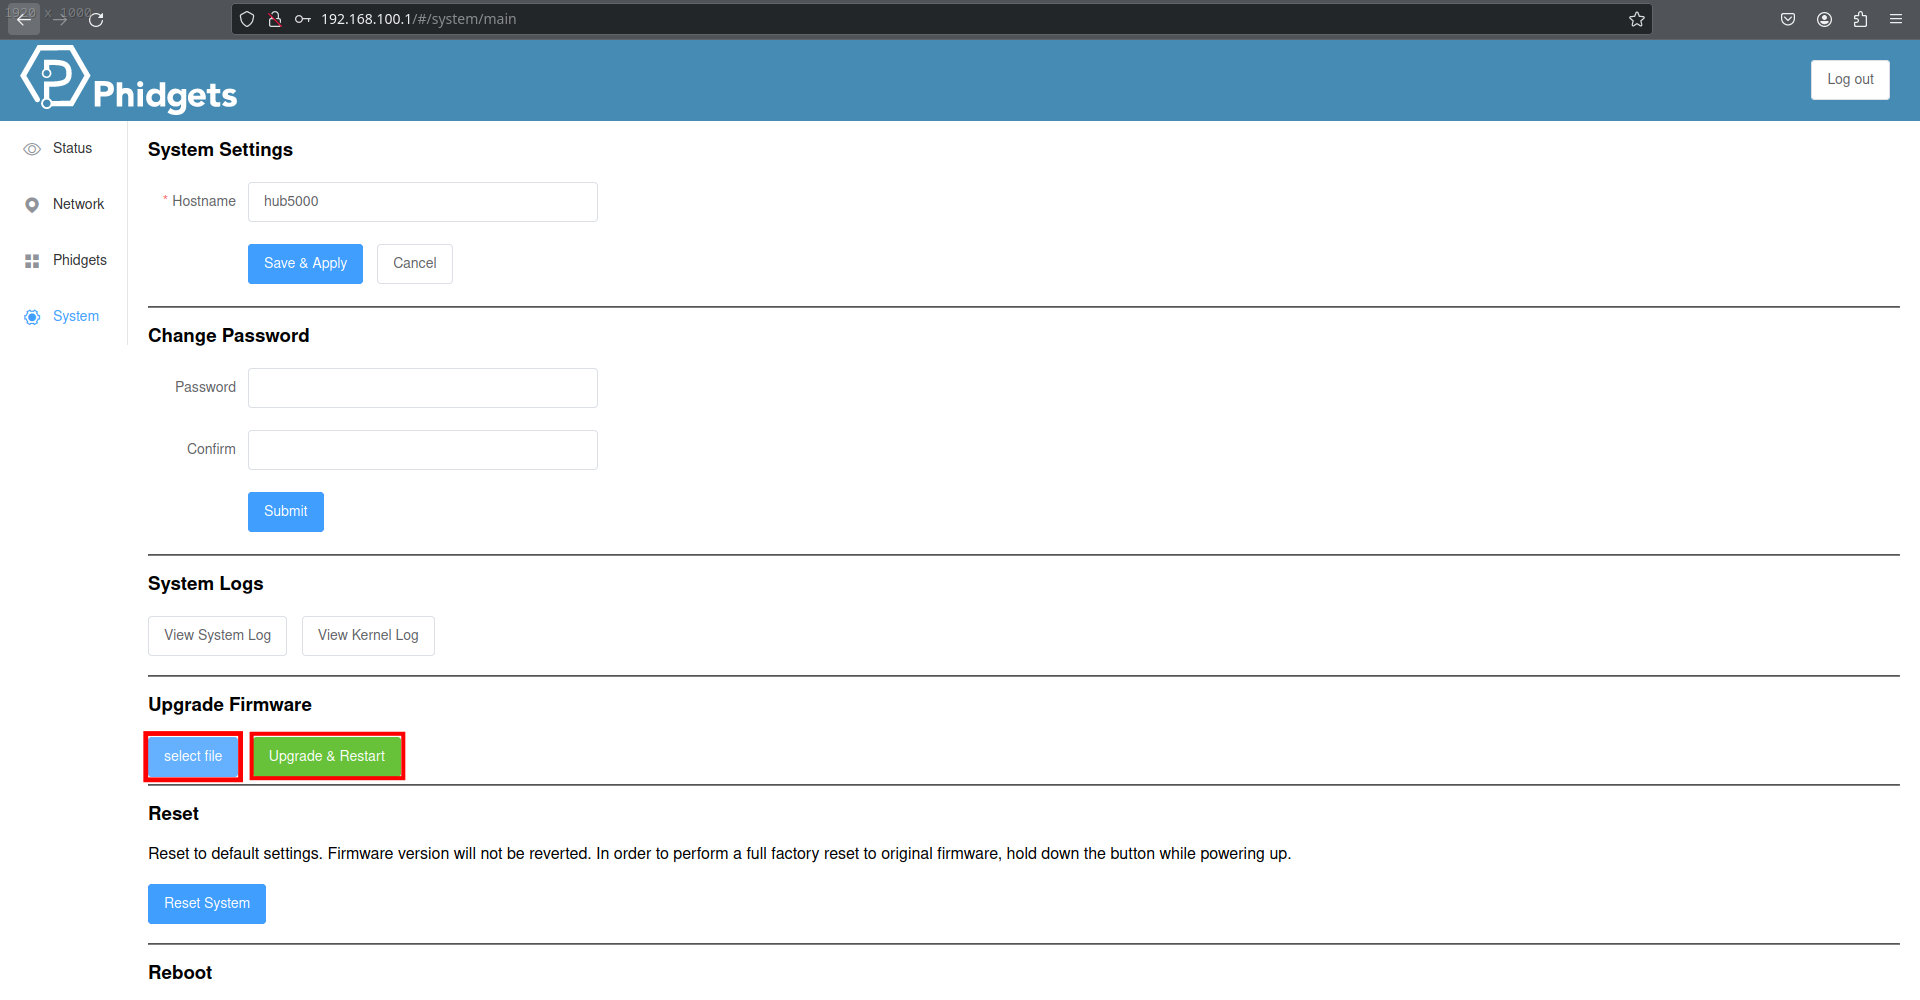
You will have to wait four minutes and then reload the Phidgets interface. Then, when you come back to the Phidgets Control Panel, the 4A Stepper Phidget should appear.
3. Get python codes from GitHub
Now that the Phidgets Wireless VINT Hub is well configured, you can get the different python codes available on the GitHub page. The easiest way to get these codes is to clone the GitHub repository.
To clone the repository, open a terminal and launch:
user@machine:~$ git clone https://github.com/LaboratoireMecaniqueLille/1000NCustomTestMachine.git
4. Performing tests
Now you are sure you are connected, you have the codes, the machine is ready for tests.
The way to prepare the setup to test a sample is described in the Mechanical setups page.
The different codes you can launch with python are described in the Code examples page.
For example:
user@machine:~$ python3 sample_protection.py
user@machine:~$ python3 load_cell.py